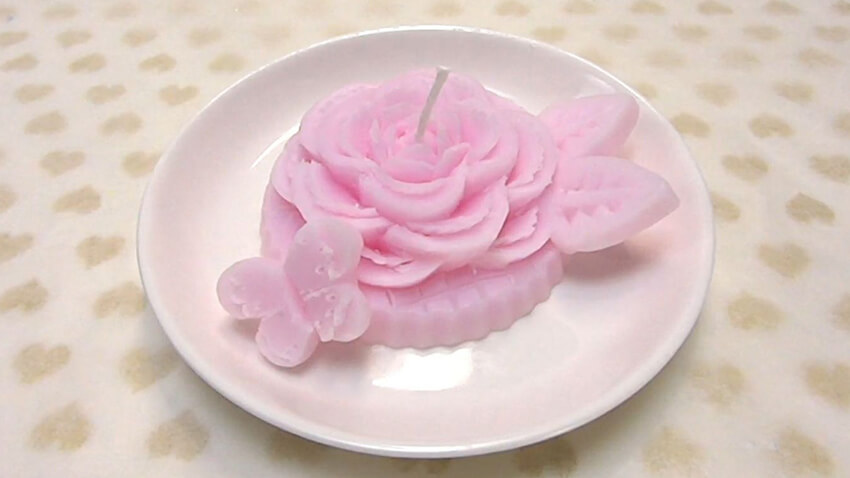
Camellia in Candle
概要
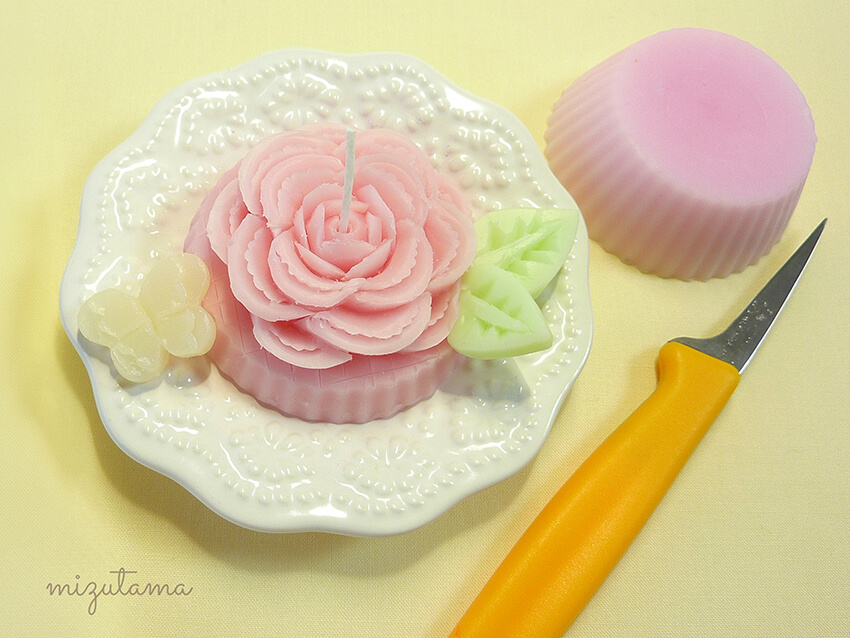

- I used a DIY soft carving candle (see this tutorial, how to make it)
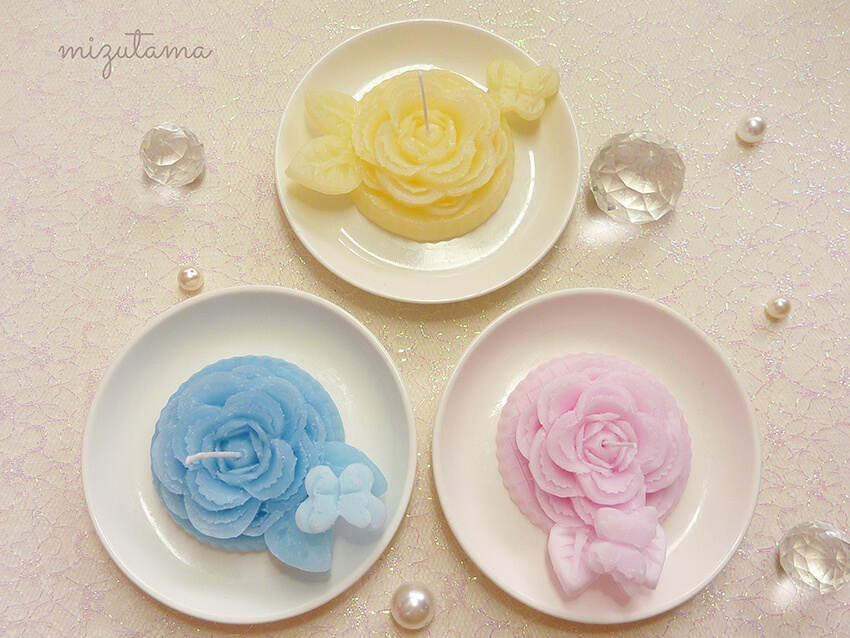
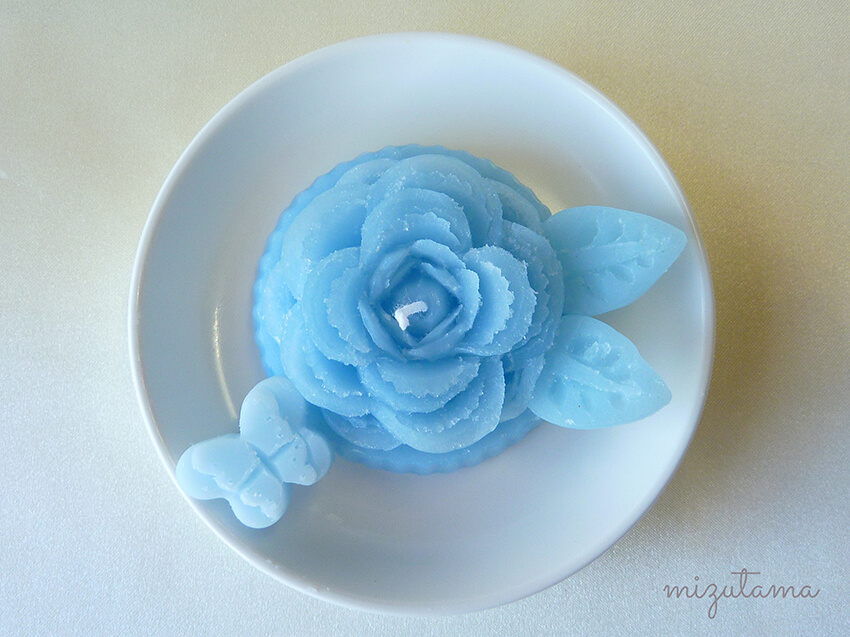
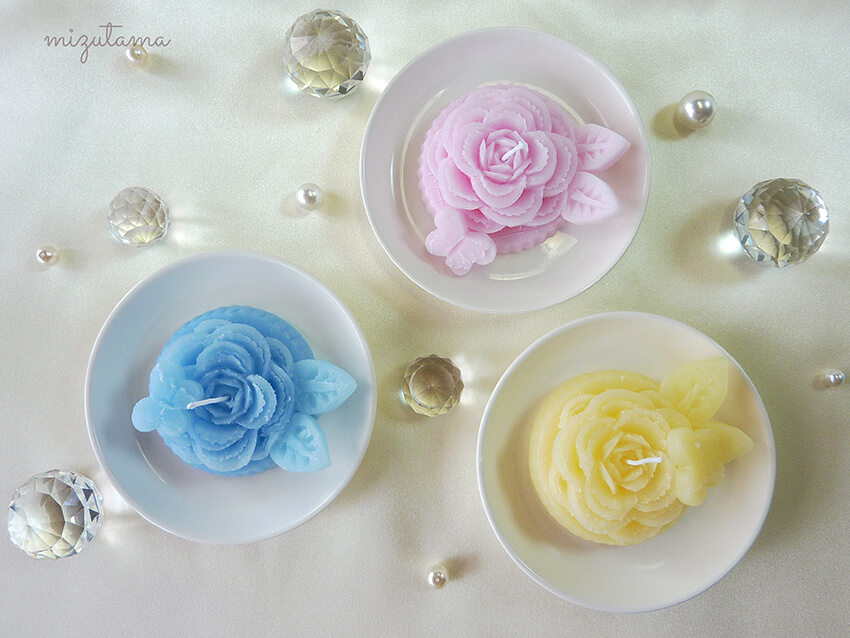
- Can be decorated with butterfly and leaves. I made them in different colors.
- Soap bars can be used instead of soft candles.
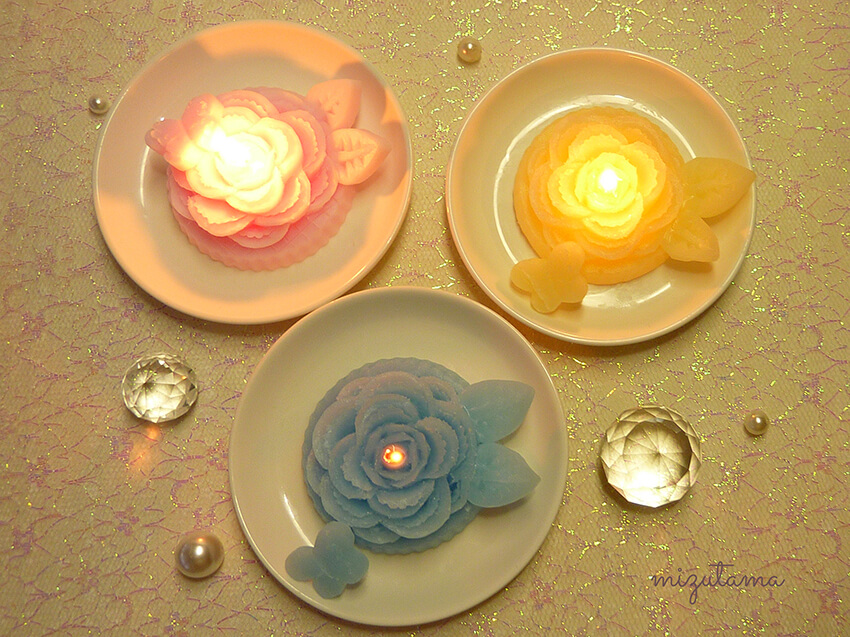
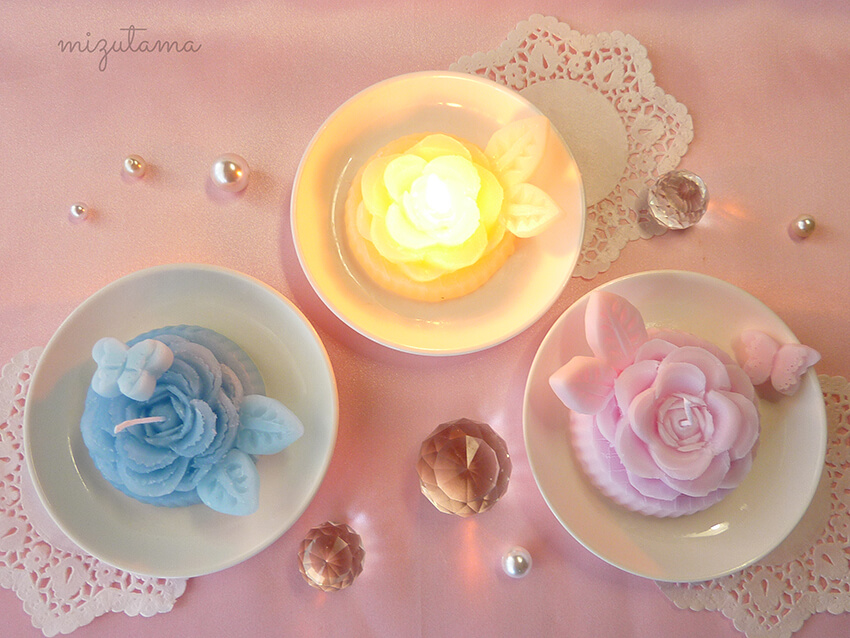
- This soft candle burns for about 5 hours.
⚠️ Don't leave the candle burning unattended. - 難易度: Easy
材料と用具

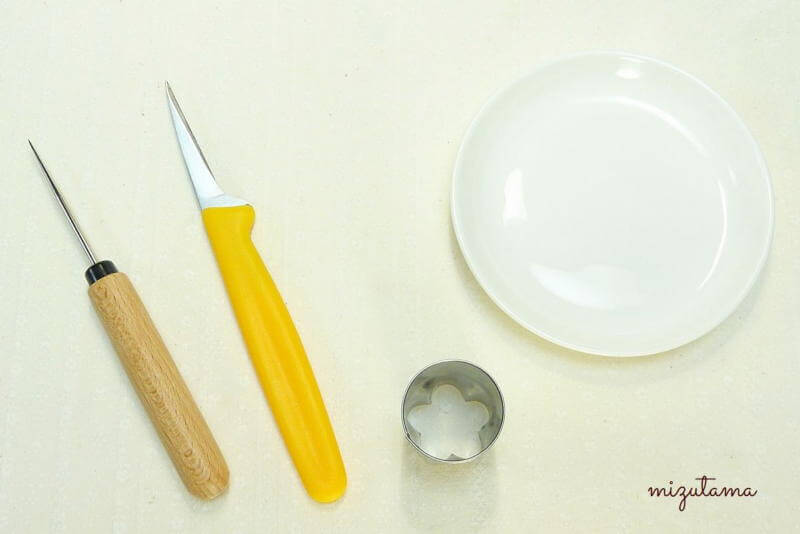
- Soft candle
- Carving knife
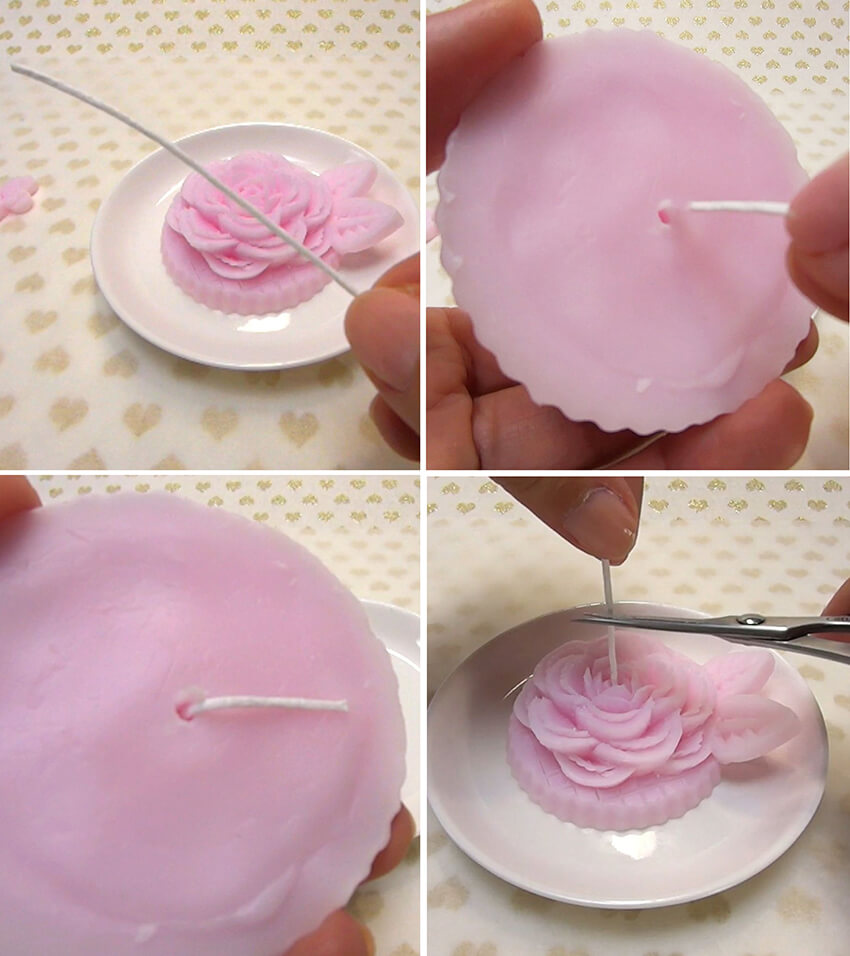
- Candlewick
- Awl, skewer or other pointed tool
- Candle plate
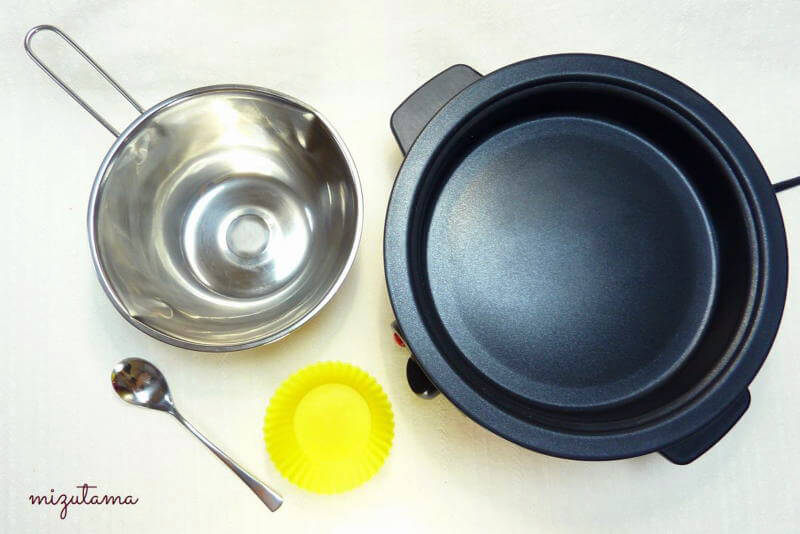
好みで使用
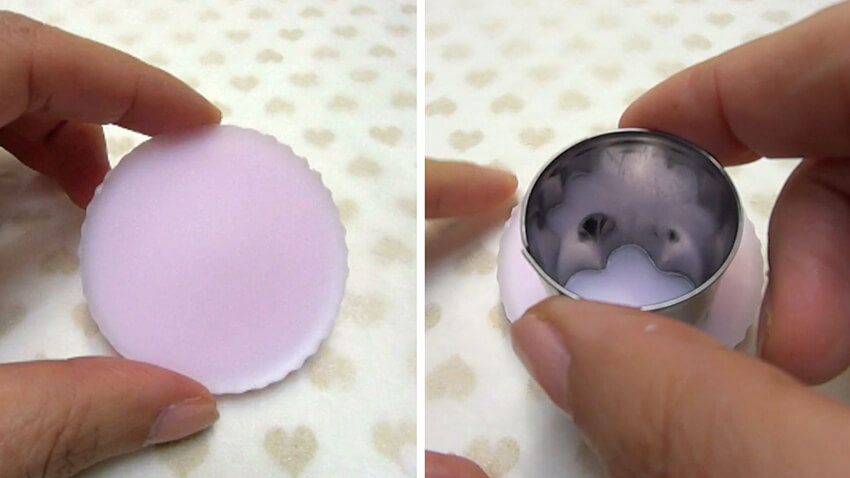
- Cookie cutter
- Stainless steel bowl
- Silicone baking cup
- Paper towel
やり方解説動画
Note: Instructions on how to carve camellia in candle begin from 3:10.
やり方
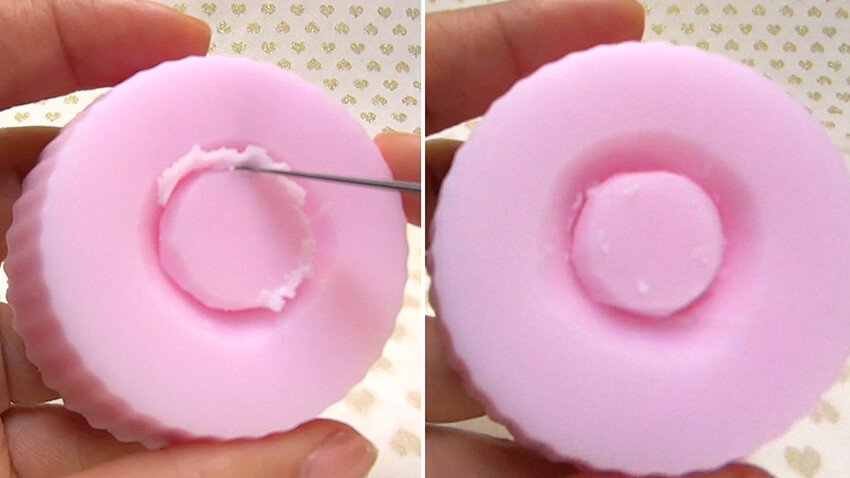
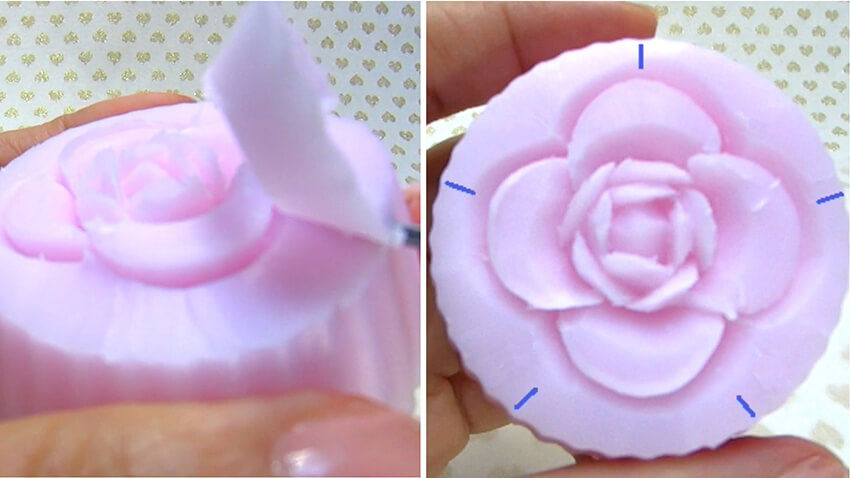
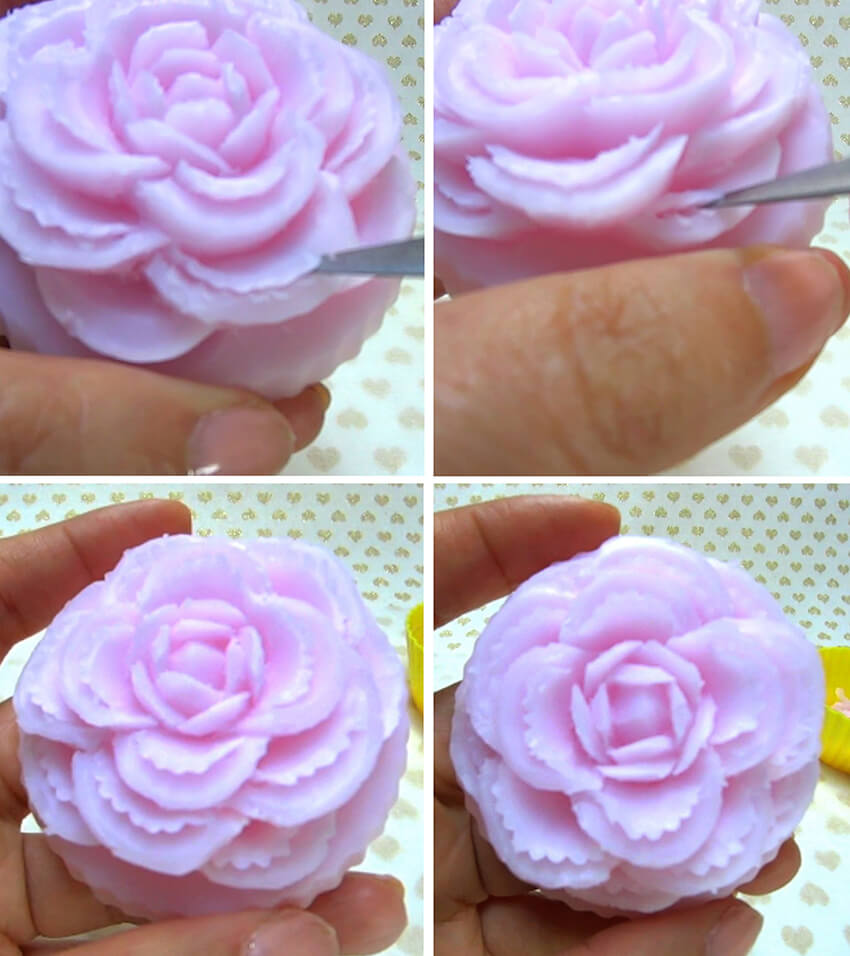
Carve the camellia
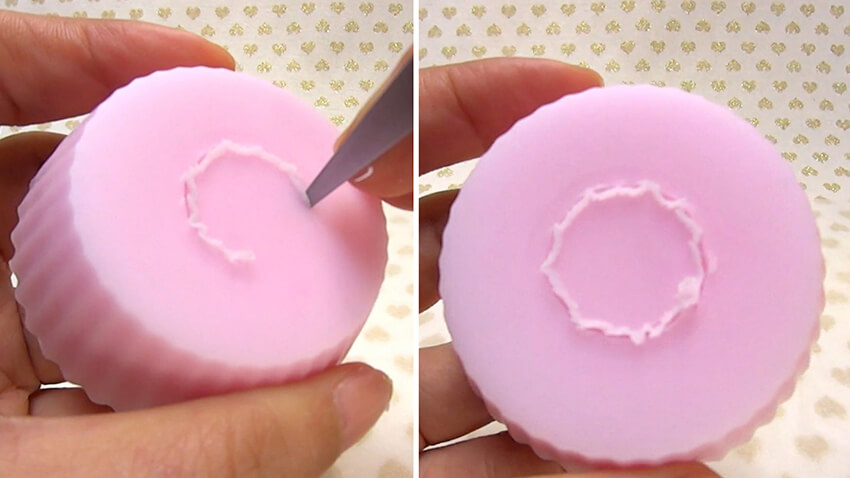
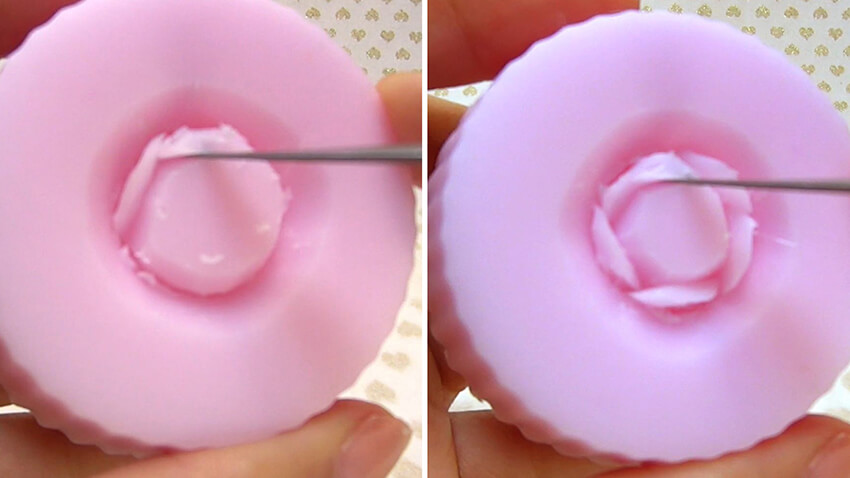
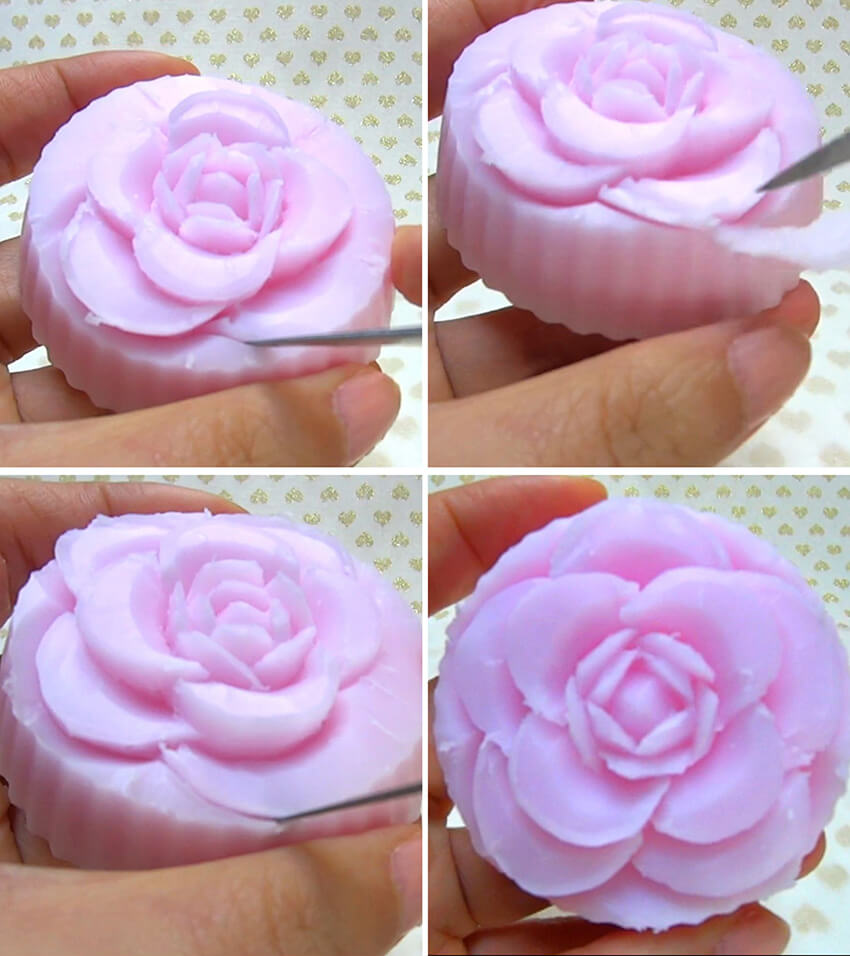
Repeat this step for remaining 3 petals.
The center is done.
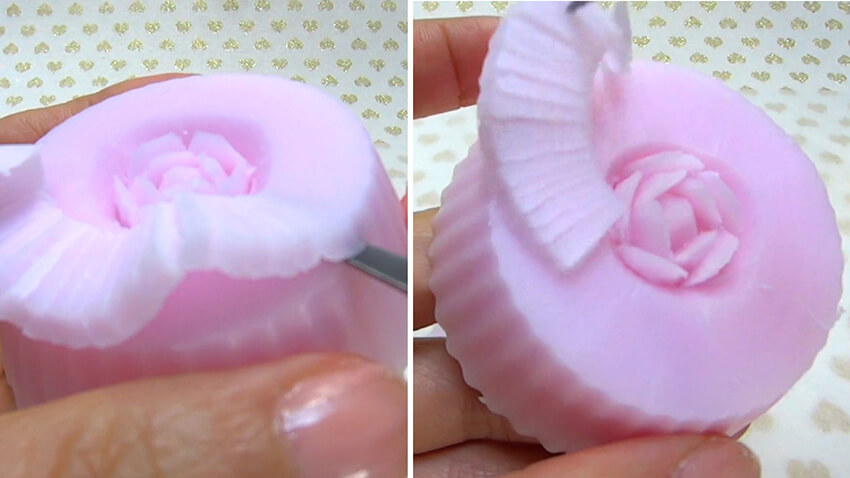
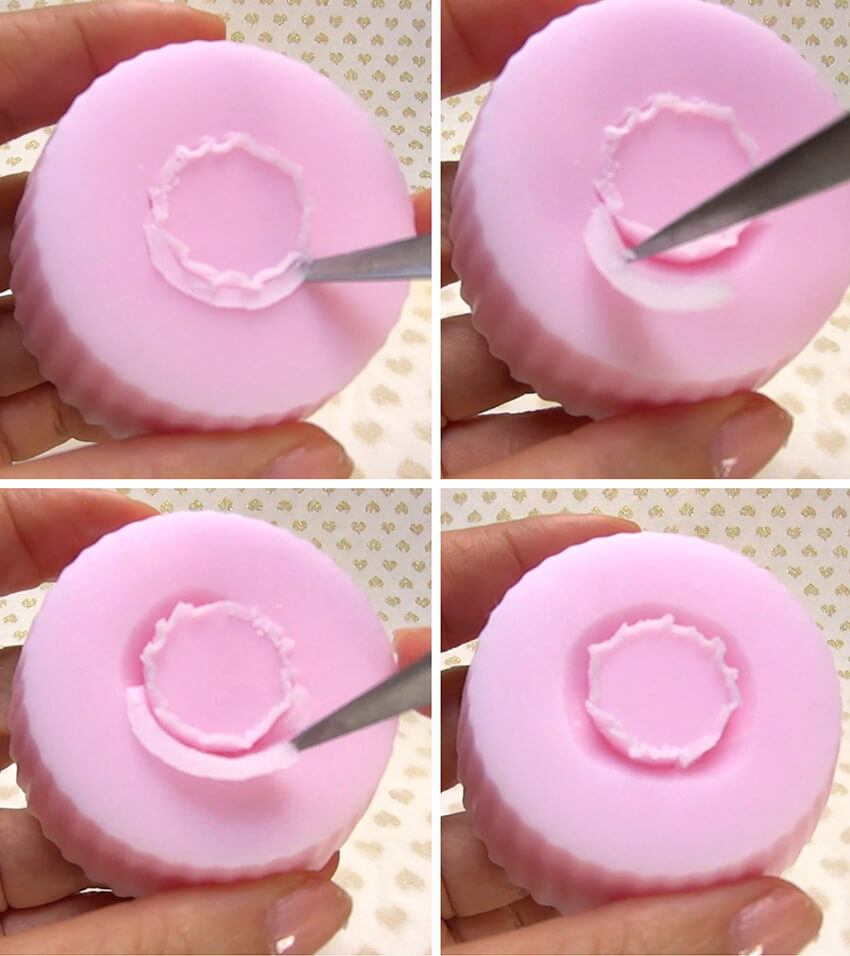
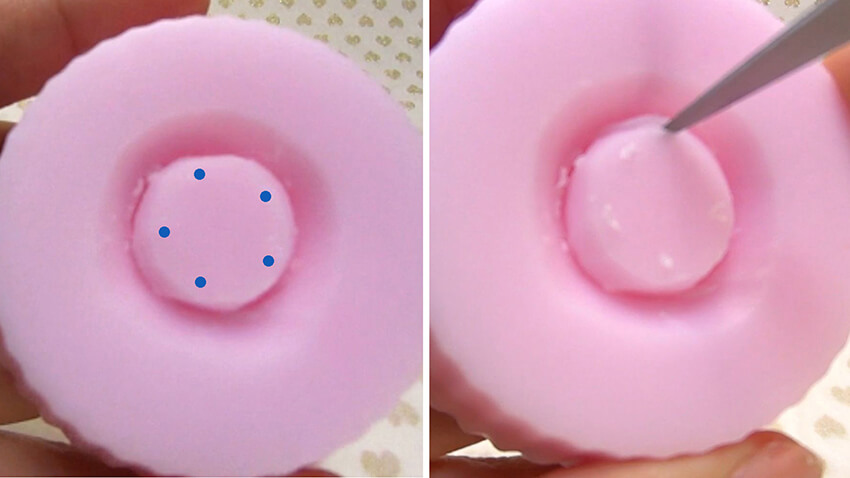
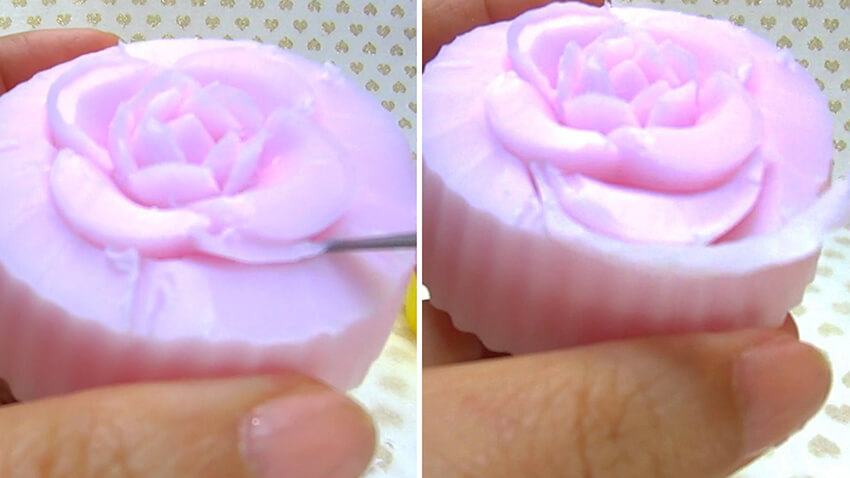
Slightly cut off the wax near the center in one of the four parts, then cut a round petal in the part.
Cut off the wax around the petal.
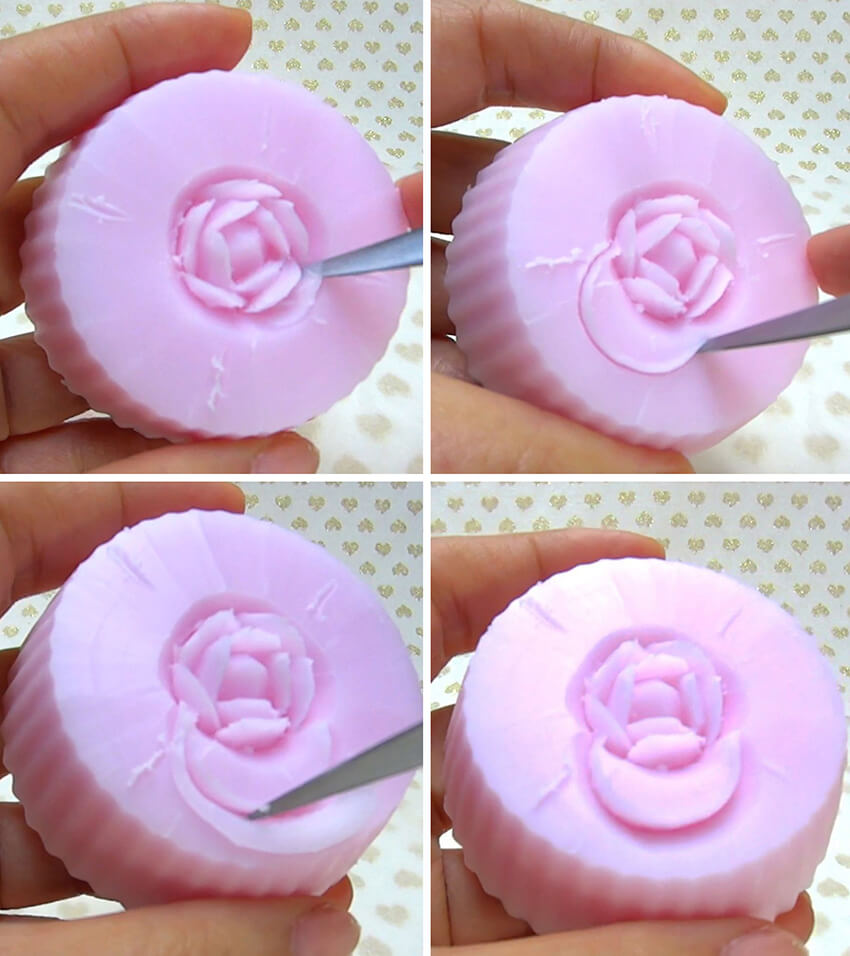
Make sure the petal slightly overlaps the previous one.
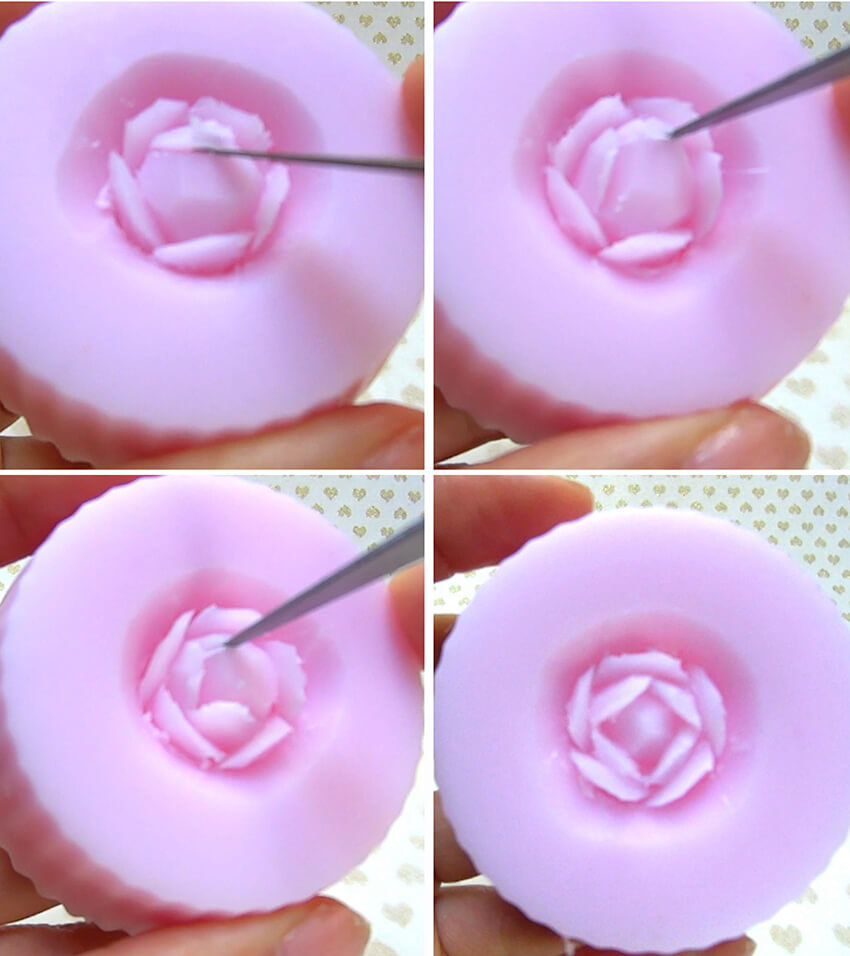
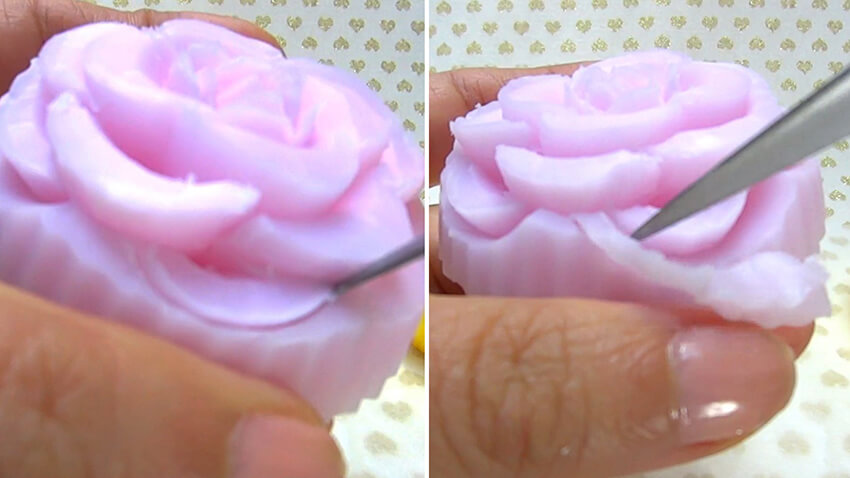
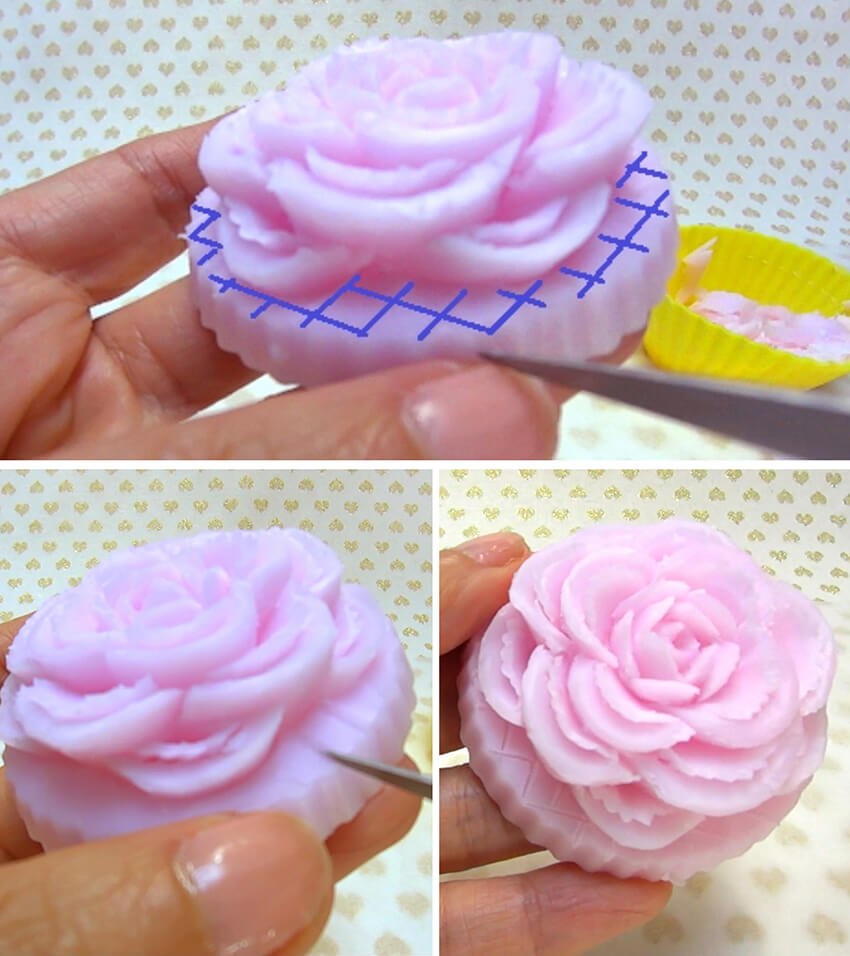
Divide the empty area of wax around the petals into 5 equal parts.
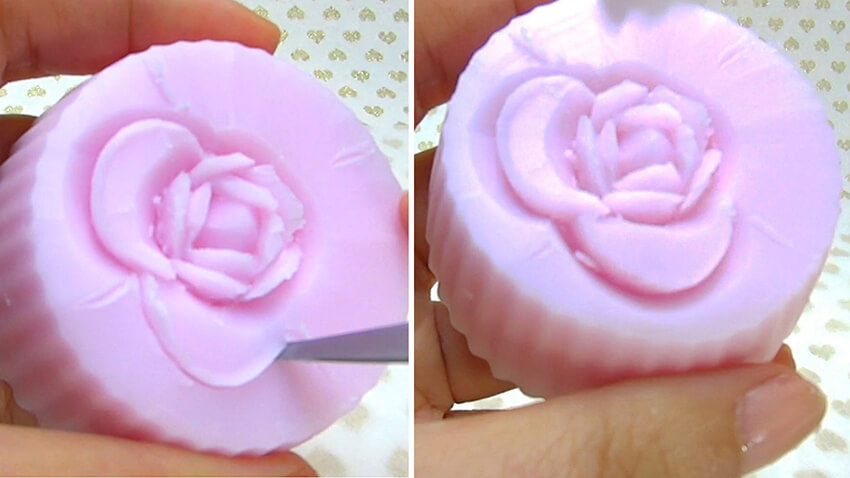
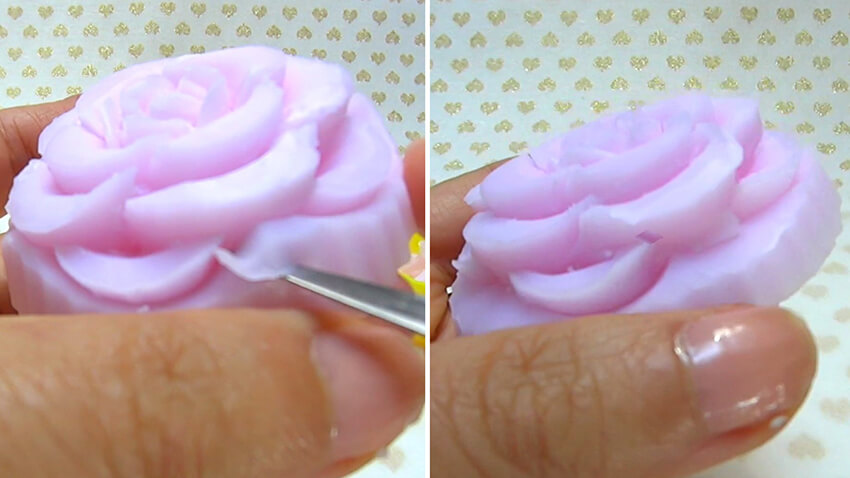
Cut off the wax around the petal.
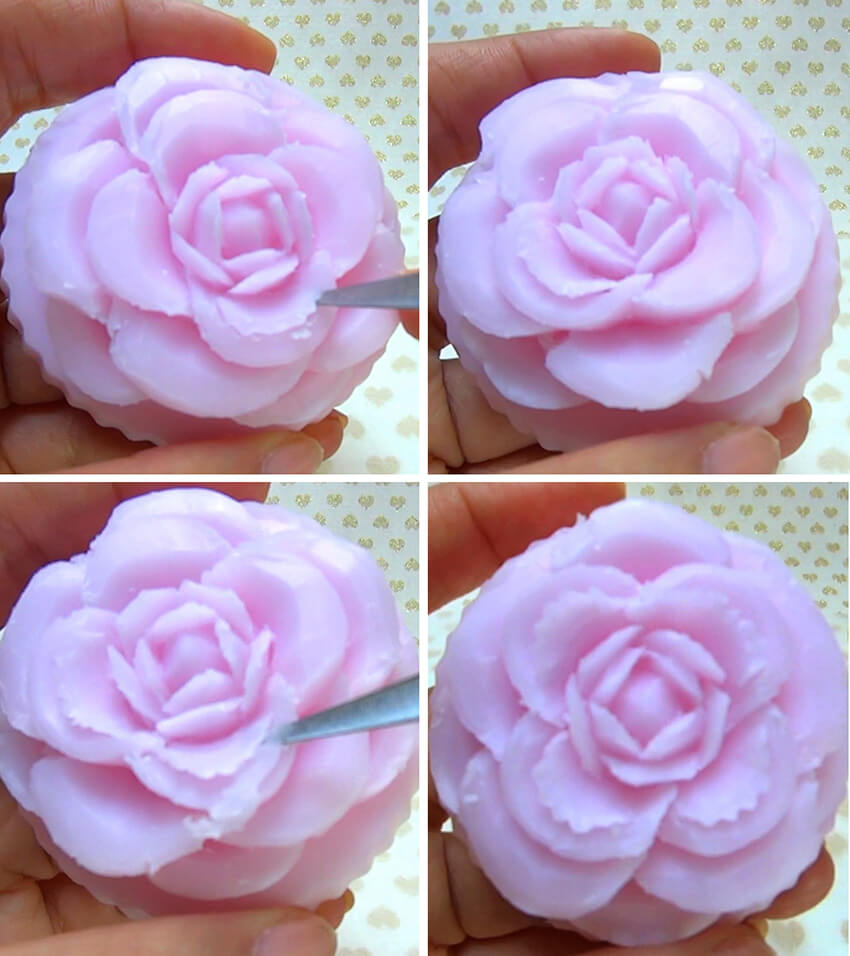
Make sure that you carve the 5 petals slightly overlap one another.
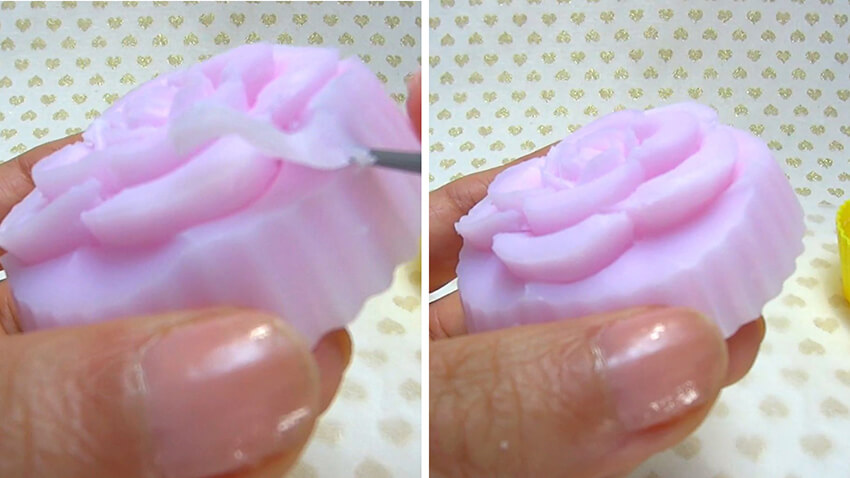
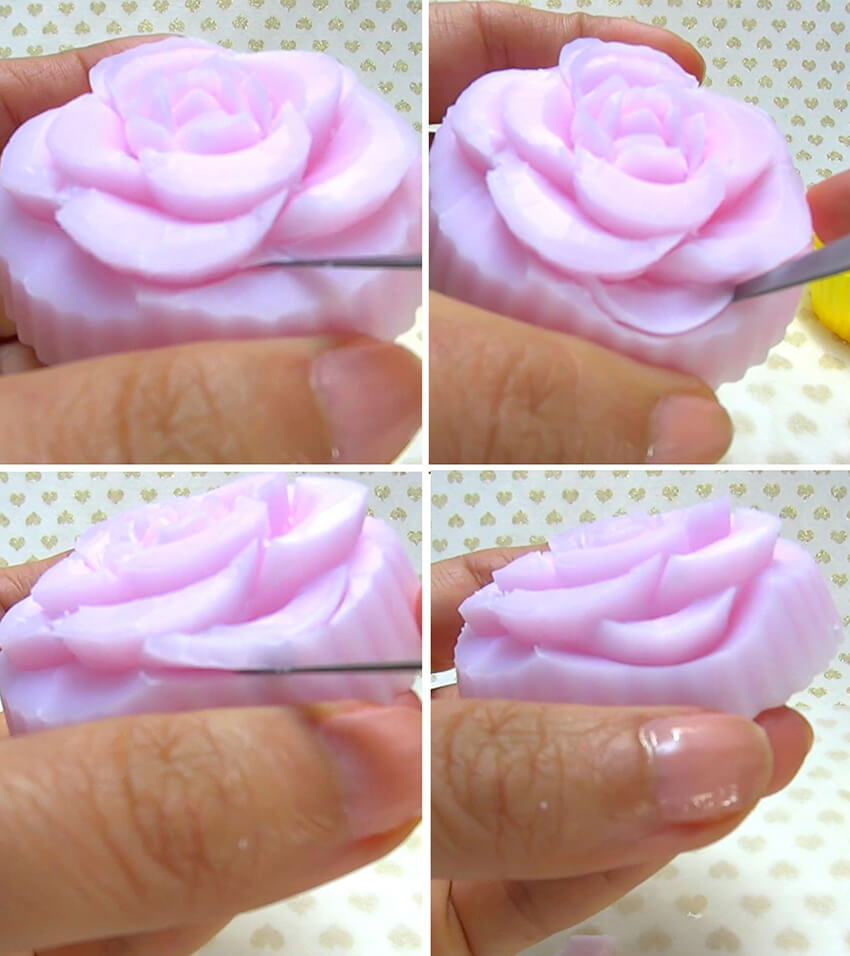
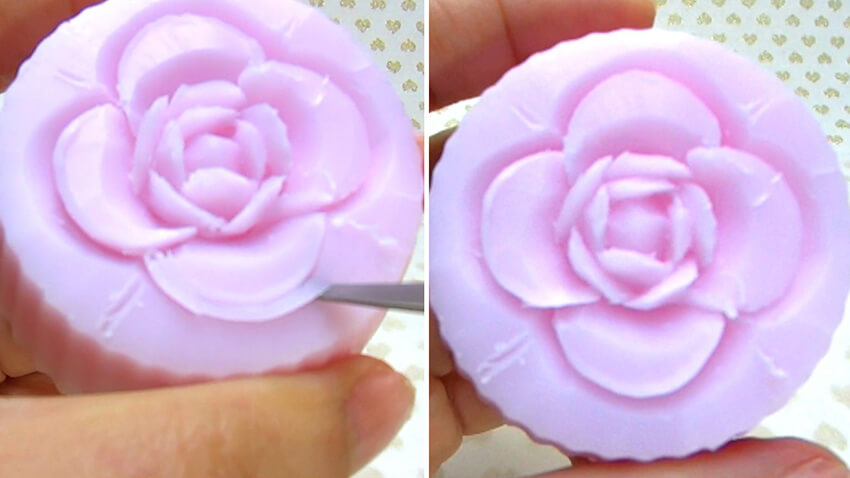
Make the wax around the flower level.
Then, cut off the wax under the wavy cut.
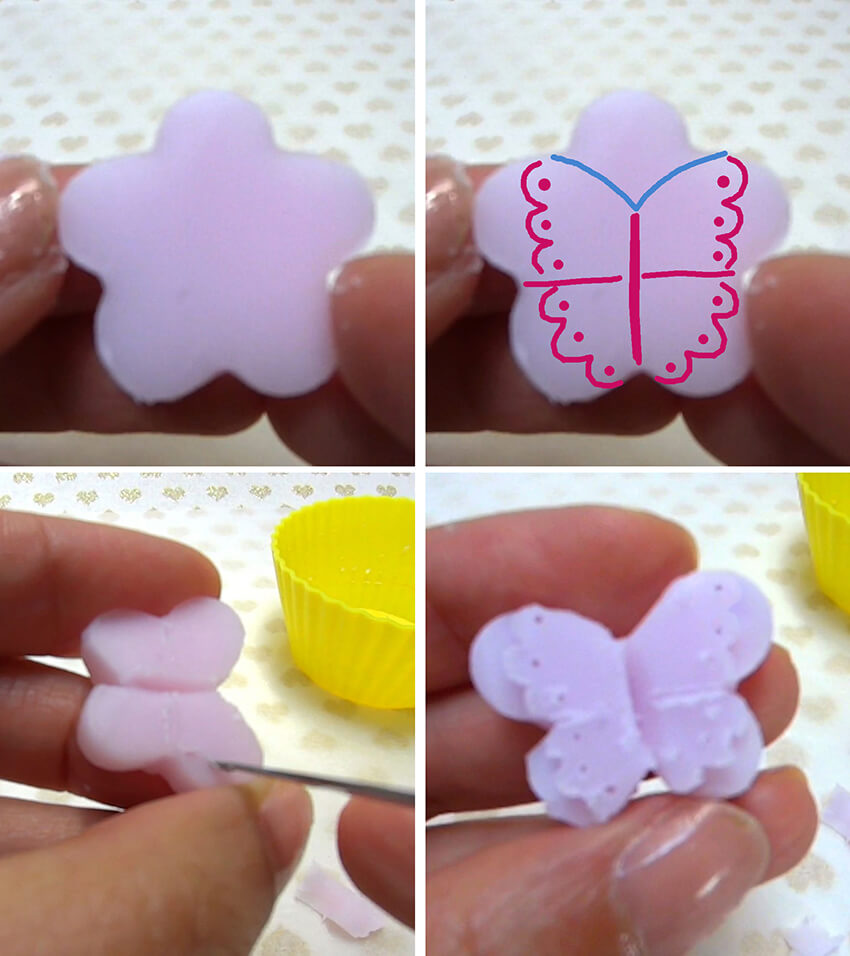
(Optional) Make a butterfly and leaves
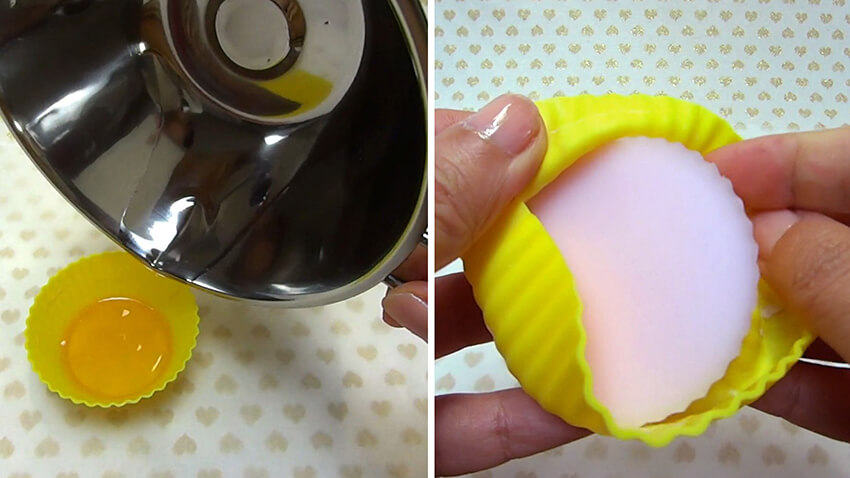
Then melt the wax at a low to medium temperature.
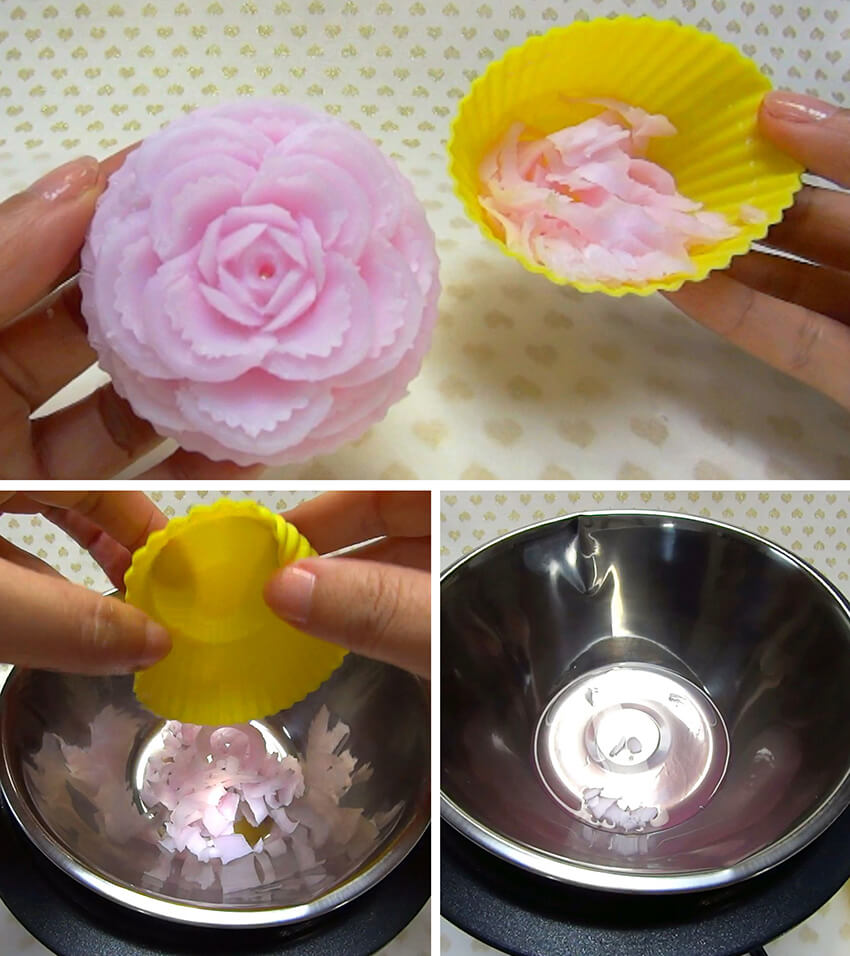
Let the wax cool down and set completely.
Pop it out of the cup.
Carve a butterfly pattern in the wax, as highlighted in pink.
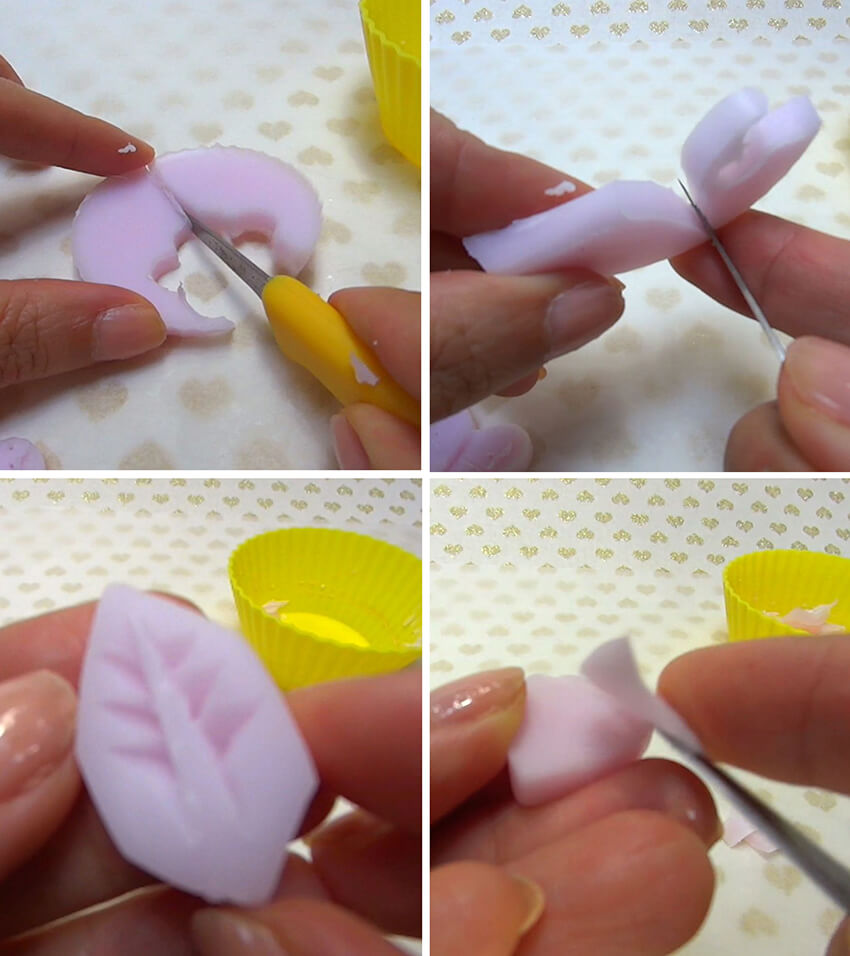
Carve a midrib and six veins in each leaf.
Cut off the bottom of the leaf at an angle so that it fits around the flower.
Attach the leaves to the flower with the melted wax.
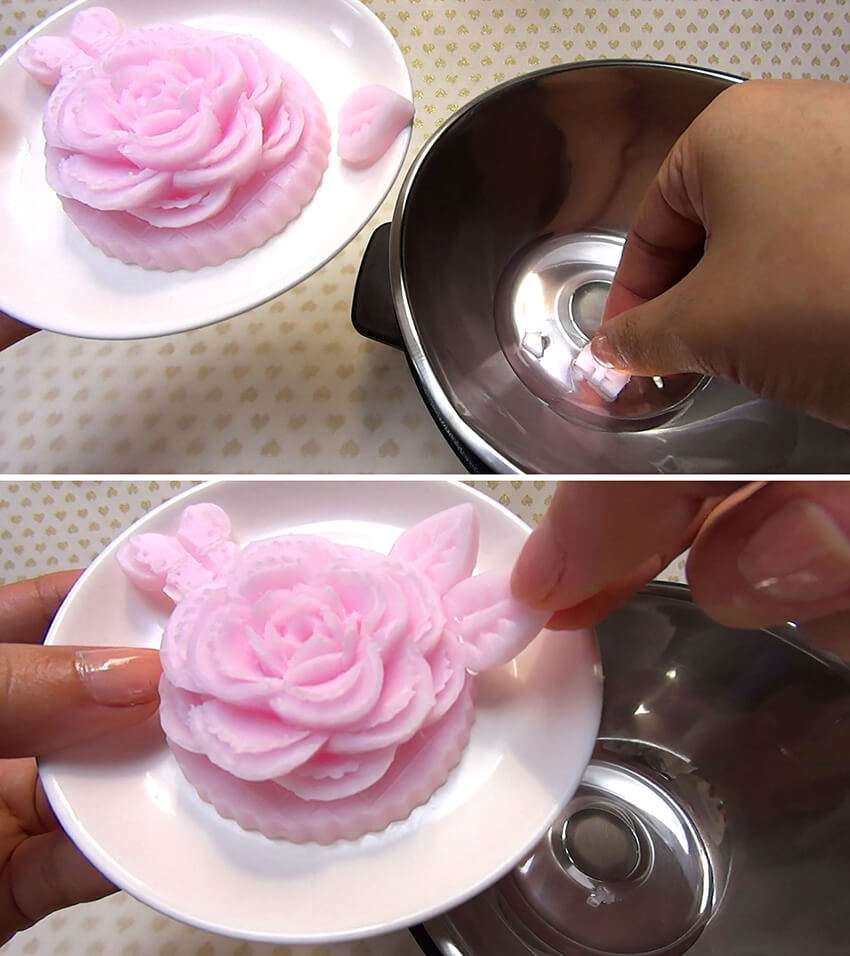
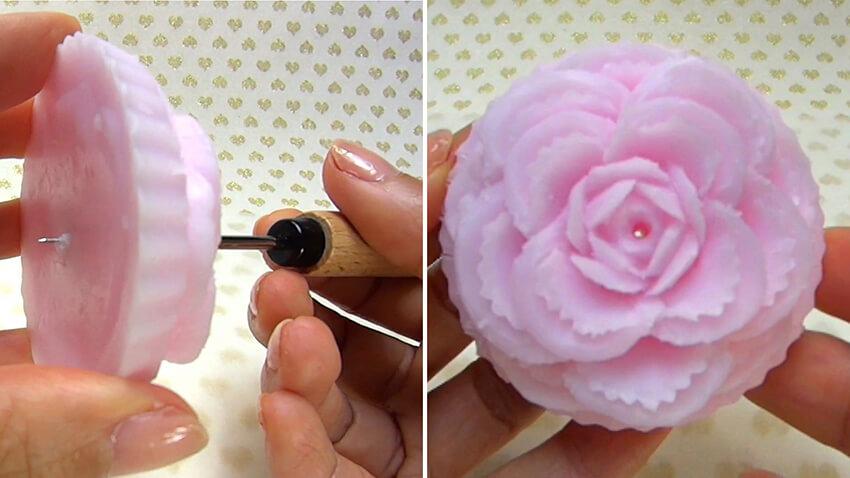
Bend the wick at the bottom and cut off its excess.